


The RV Plumbing Puzzle: A Guide to 1/2 PEX to Garden Hose Adapters
![[HERO] The RV Plumbing Puzzle: A Guide to 1/2 PEX to Garden Hose Adapters](https://cdn.marblism.com/58yZh5ZTpBq.webp)
Picture this: You're under your RV, flashlight in your mouth, staring at a maze of PEX tubing. You need to connect something, maybe a winterization setup, maybe a bypass for your water filter, or maybe you're doing a custom repair. But here's the problem: your garden hose fitting won't connect to that 1/2" PEX line no matter how hard you try.
Welcome to the world of 1/2 PEX to garden hose adapters, those small but mighty fittings that bridge the gap between your RV's internal plumbing and standard garden hose equipment.
If you've ever felt like RV plumbing is a puzzle with missing pieces, this guide is for you. Let's break it down.
Why Would You Even Need One of These?
Great question. Most RVers don't think about PEX-to-hose adapters until they're in a pinch. Here are the three most common scenarios where these little heroes save the day:
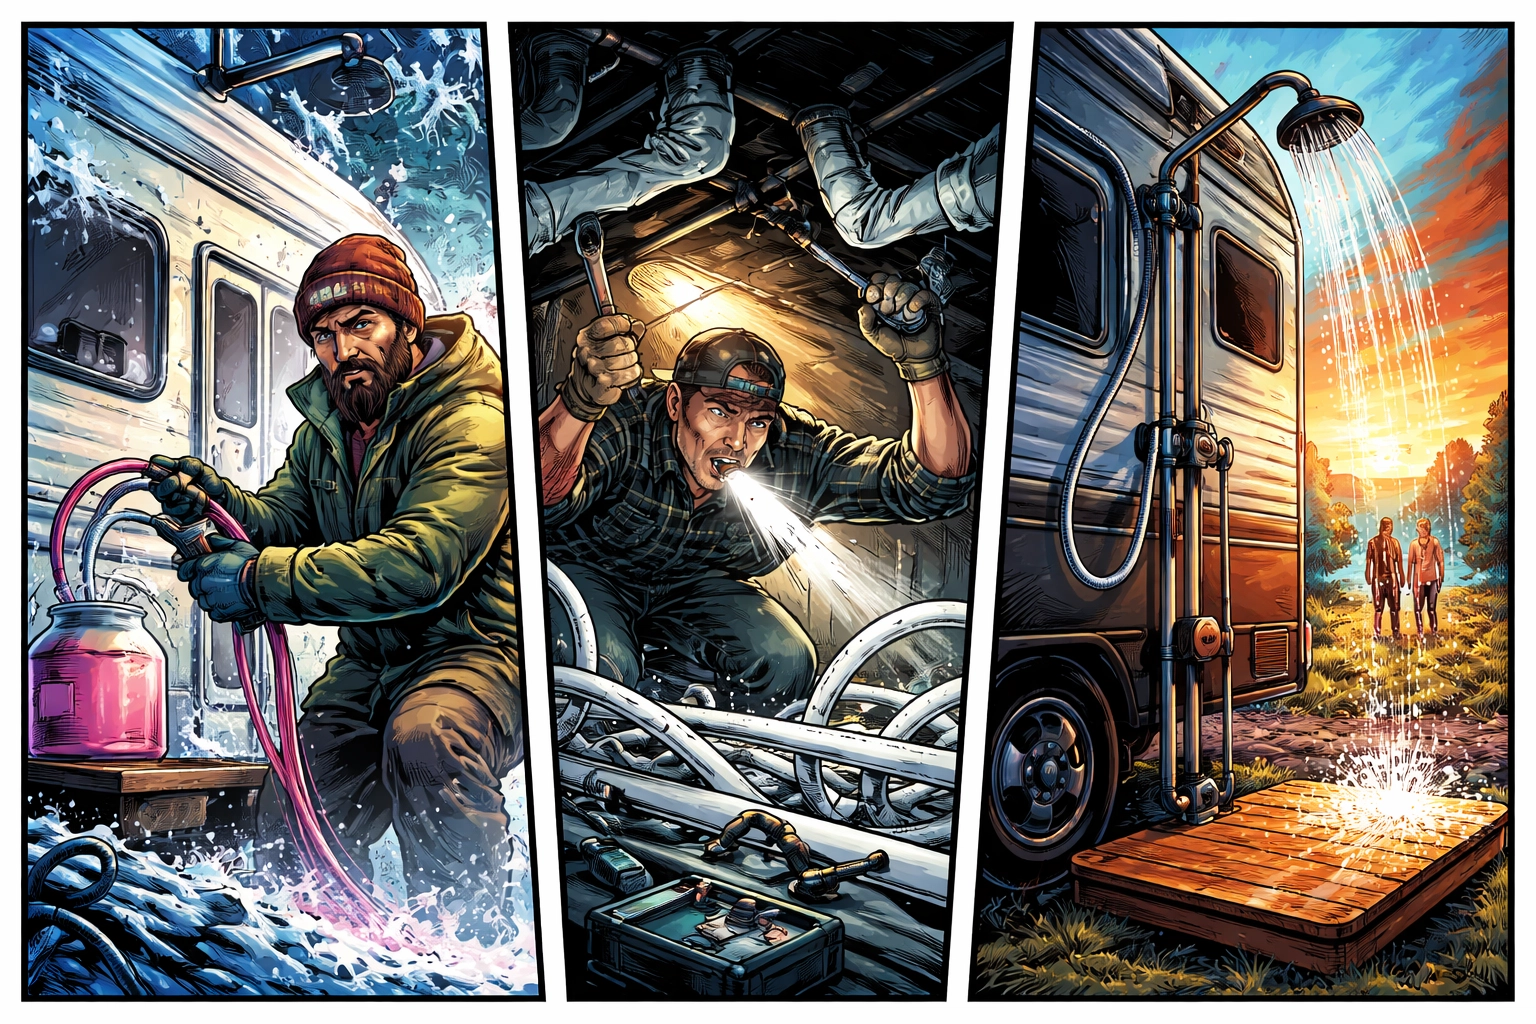
1. Custom Winterization Setups
When it's time to winterize your rig, you need to get antifreeze flowing through every water line. Many RVers prefer to pump antifreeze directly into their PEX system using a hand pump or dedicated winterization line. A 1/2 PEX to garden hose adapter lets you connect your antifreeze supply (usually via garden hose fittings) directly to your PEX plumbing.
No adapter? No winterization. And nobody wants burst pipes in February.
2. Repairs and Bypasses
Things break. It's the RV life. When a section of your water system needs repair, or you want to bypass your water heater, softener, or filter temporarily, these adapters give you flexibility. You can tap into your PEX lines, run a temporary garden hose connection, and keep water flowing while you figure out a permanent fix.
3. Custom Hose Configurations
Maybe you're building a dedicated outdoor shower line. Maybe you want to add a quick-connect spigot for washing down your gear. Whatever your project, a 1/2 PEX to garden hose adapter is often the bridge between "good idea" and "actually works."
The Thread Type Showdown: GHT vs. NPT
Here's where things get technical, but stick with me. Understanding thread types is the difference between a leak-free connection and a frustrating mess.
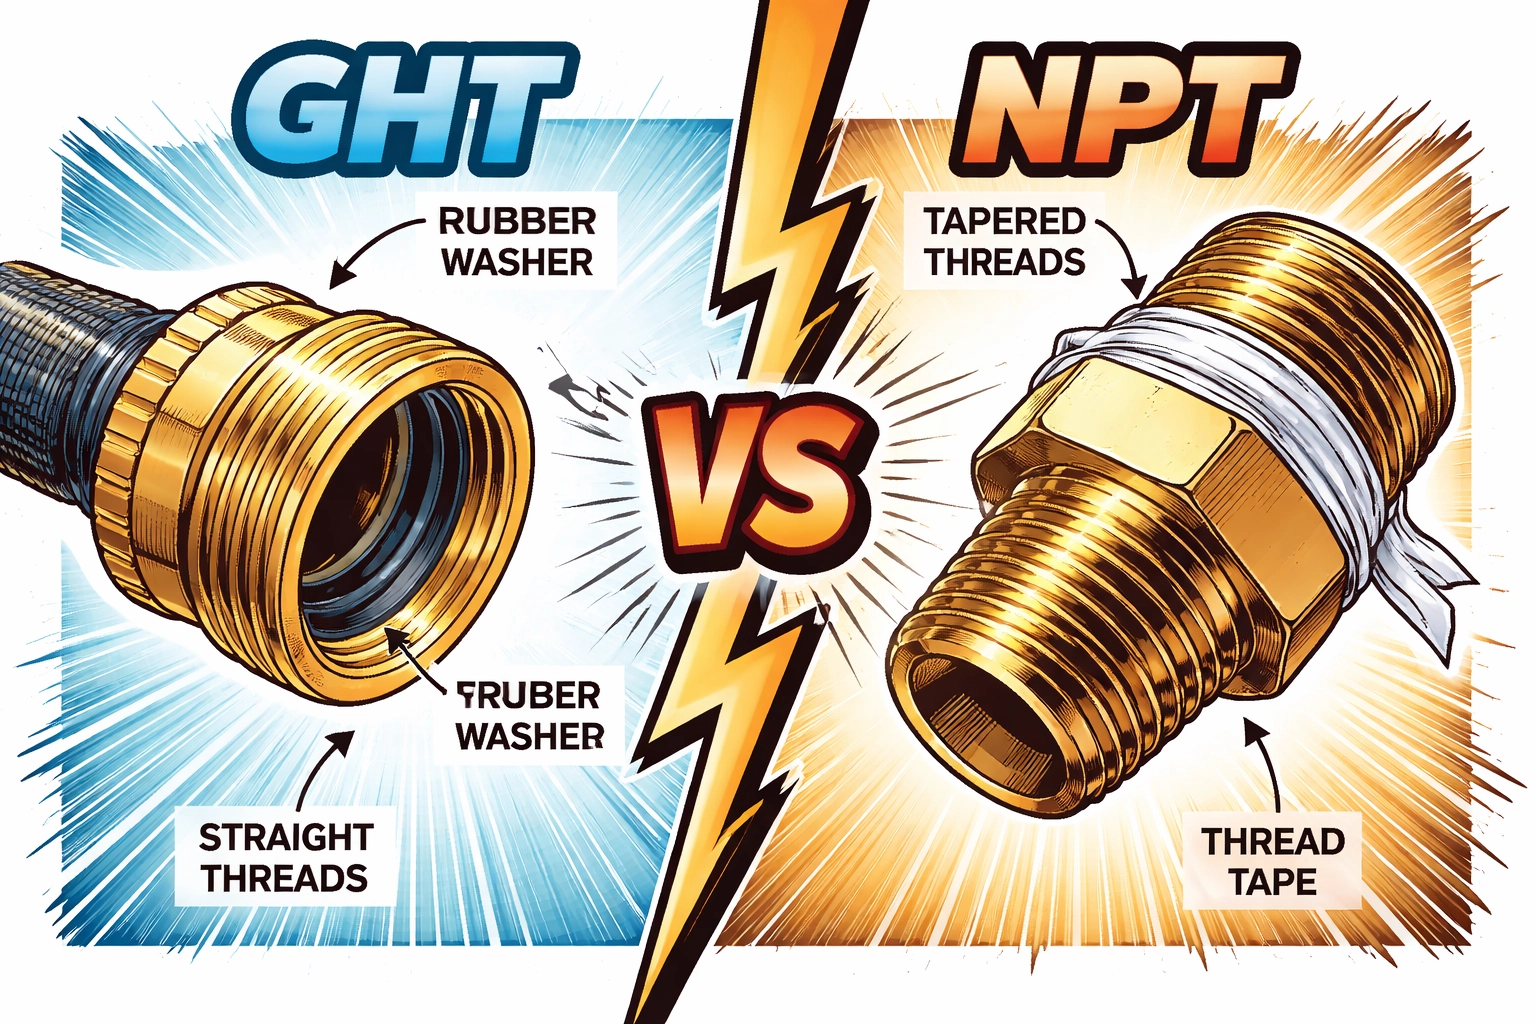
GHT (Garden Hose Thread)
This is the standard threading you'll find on every garden hose, campground spigot, and most outdoor water equipment. The specs:
- 3/4" diameter
- 11.5 threads per inch (TPI)
- Straight threads (not tapered)
GHT connections seal with a rubber washer, not thread tape. If your garden hose has that little rubber ring inside the female end, you're looking at GHT.
NPT (National Pipe Thread)
NPT is the standard for household and commercial plumbing in the US. The specs:
- Various diameters (1/2", 3/4", etc.)
- Tapered threads (they get narrower as they go in)
- Seals by thread engagement (you need thread tape or pipe dope)
Here's the kicker: GHT and NPT are NOT compatible. They might look similar at a glance, but try to connect them and you'll either cross-thread the fitting or end up with a leak you can't stop.
The Adapter Solution
A proper 1/2 PEX to garden hose adapter handles this translation for you. One end connects to your 1/2" PEX tubing (via crimp ring, clamp, or push-fit connection), and the other end features GHT threading that matches standard garden hose equipment.
When shopping, make sure you're getting an adapter that explicitly lists GHT on the garden hose end. Some fittings labeled "hose adapter" are actually NPT, which won't help you connect to standard garden hose gear.
How to Get a Leak-Free Connection Every Time
Alright, you've got the right adapter. Now let's talk installation. Nothing ruins a weekend faster than a slow drip that turns into a puddle under your RV.
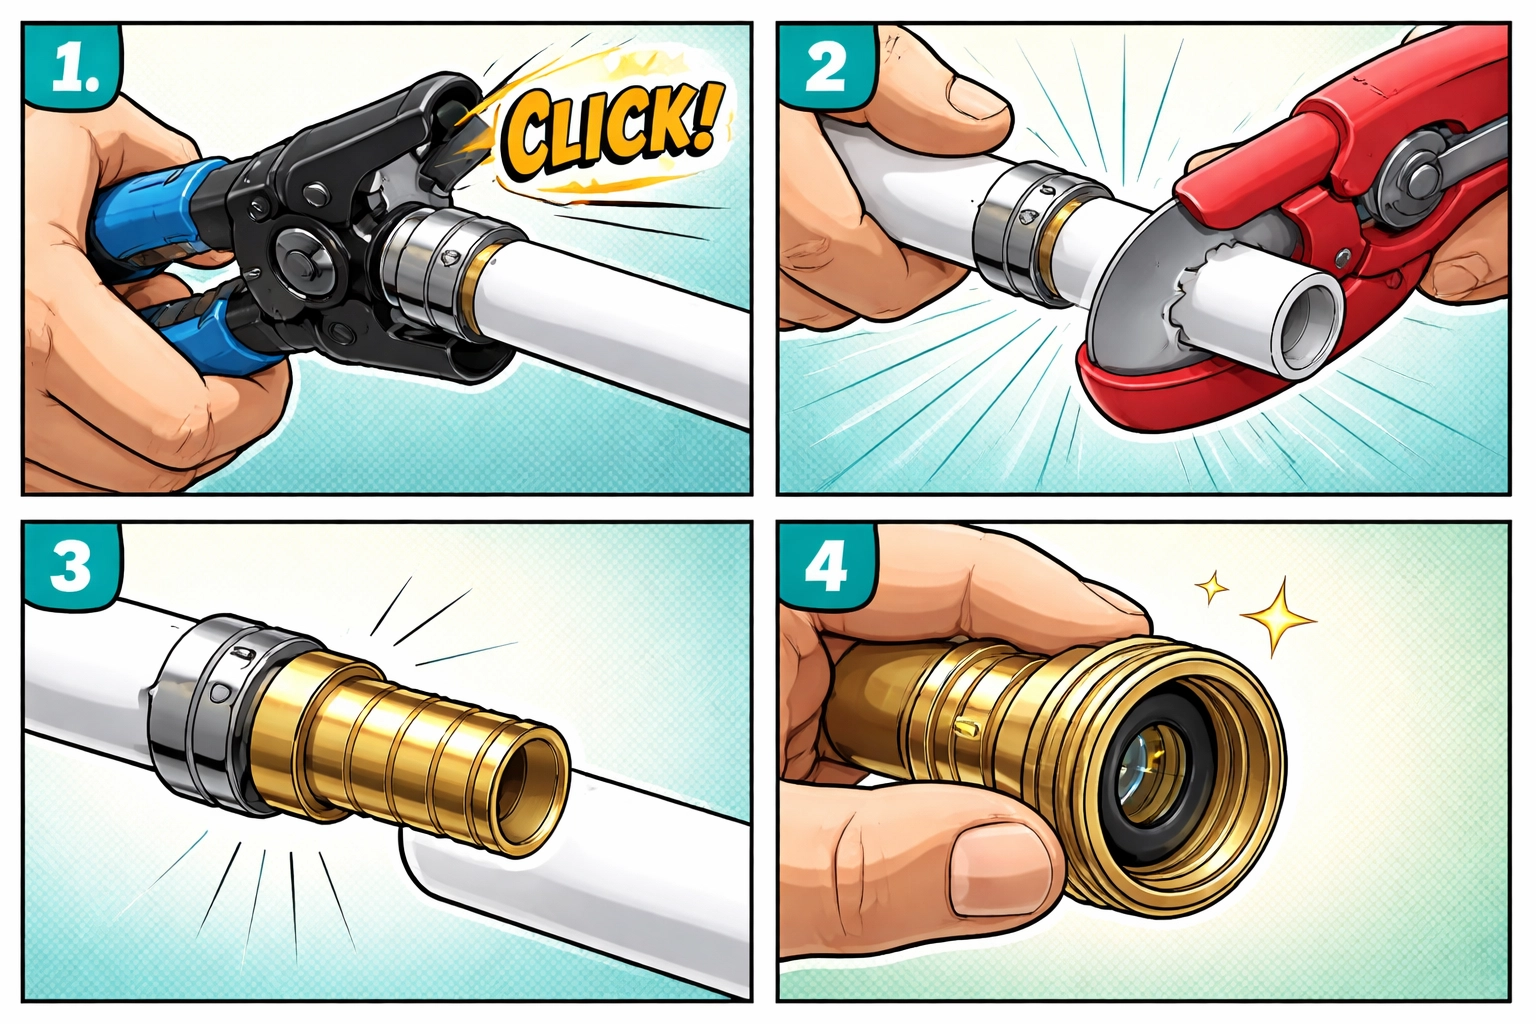
Step 1: Choose the Right Clamp Type
This is where a lot of DIYers go wrong. Standard automotive hose clamps (the ones with the screw-tightening band) aren't ideal for PEX. They can crush the tubing and create leaks over time.
Instead, use PEX-specific pinch clamps (also called cinch clamps). They apply even pressure around the tubing without over-squeezing. You'll need a simple cinch clamp tool to install them: it's a one-time purchase that'll serve you for years.
Step 2: Cut Your PEX Cleanly
A clean, square cut is essential. Jagged or angled cuts leave gaps where water can seep out. Use a dedicated PEX cutter (they're cheap and worth every penny) rather than a utility knife or pipe cutter.
Step 3: Slide, Position, Clamp
Slide the clamp ring onto the PEX tubing first: trust me, you don't want to forget this step and have to start over. Then push the adapter's barbed end into the PEX tubing until it's fully seated. Position the clamp about 1/8" to 1/4" from the end of the tubing and crimp it down.
Give it a tug. It shouldn't budge.
Step 4: Don't Forget the Washer
On the garden hose end, always use a rubber washer in the female fitting. This is how GHT connections seal. No washer = guaranteed drip. Keep a few spares in your toolbox.
Step 5: Hand-Tight Plus a Quarter Turn
Over-tightening GHT connections is a rookie mistake. Go hand-tight, then use pliers for about a quarter turn more. That's it. Cranking down harder won't improve the seal: it'll just damage the washer or strip the threads.
Bonus Tips for Your PEX Projects
Consider Swivel Adapters
If your setup involves any kind of rotation or movement: like a detachable winterization line: look for adapters with a swivel feature on the GHT end. This prevents the hose from twisting and kinking during connection.
Working with Braided Lines?
Some RVs have braided supply lines connected to PEX. In these cases, a PEX to polybutylene (PB) adapter can actually work better because the hose connection end is slightly larger, giving you a snugger fit on braided lines while still allowing a standard hose clamp on that side.
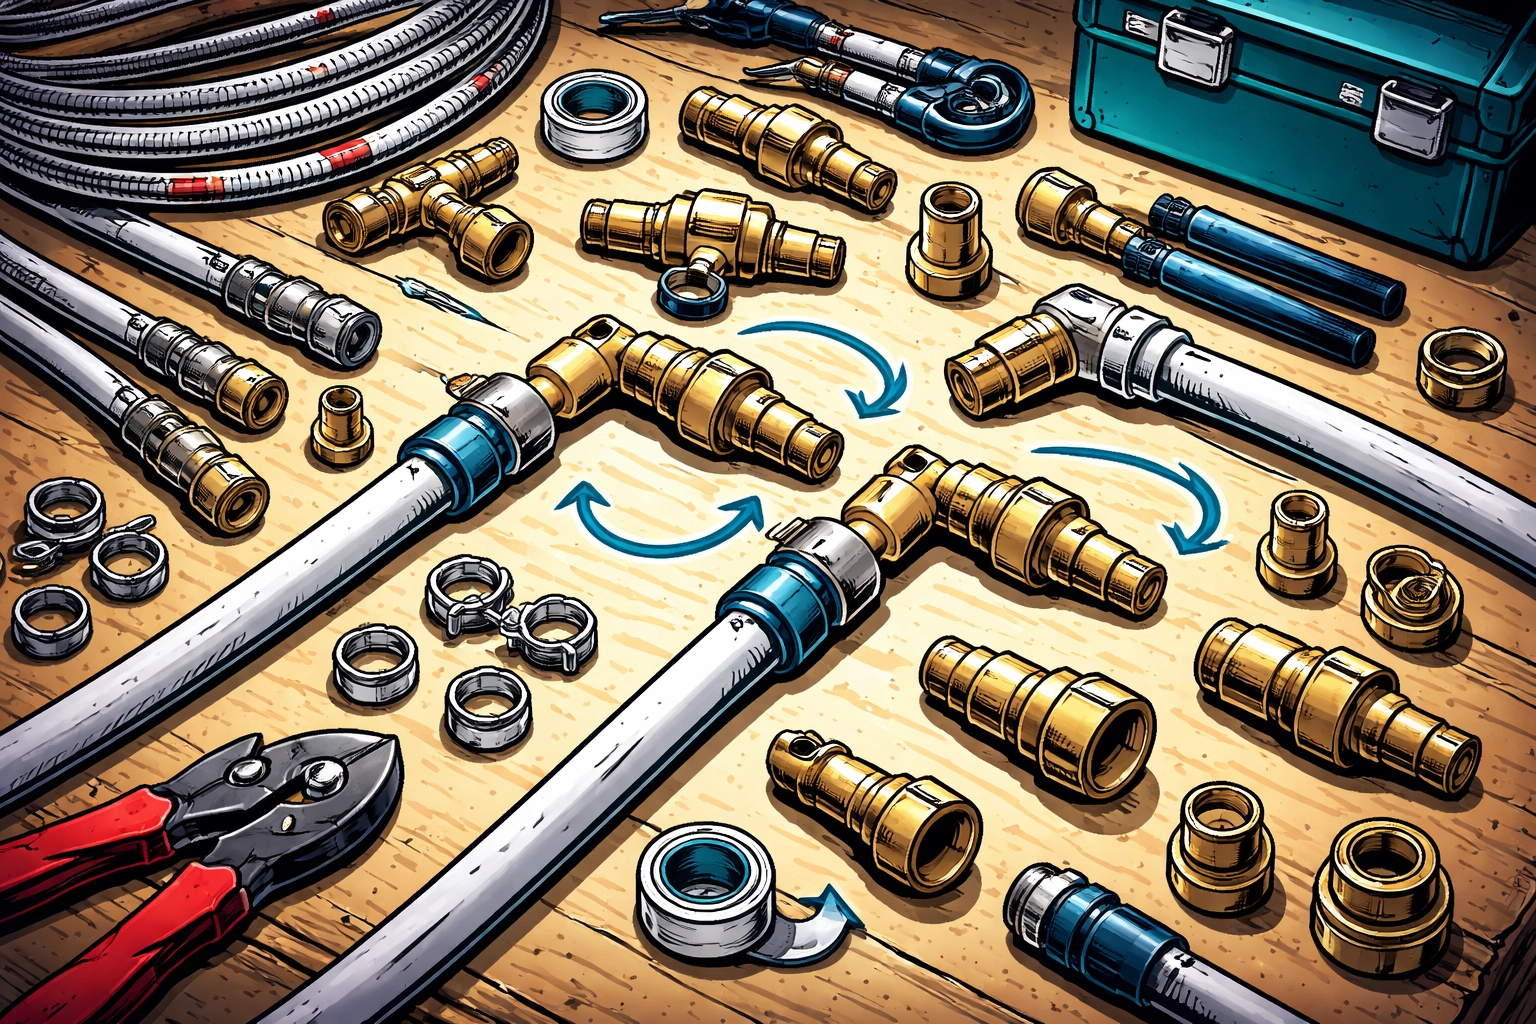
Stock Up on Fittings
Once you start working with PEX, you'll realize how handy it is to have a variety of fittings on hand. We carry a solid selection of parts and fittings along with hose accessories for custom setups. Having the right fitting when you need it beats an emergency trip to the hardware store every time.
Wrapping It Up
The 1/2 PEX to garden hose adapter is one of those fittings you don't think about until you need it: and then it becomes the most important thing in your toolkit. Whether you're winterizing, repairing, or building something custom, understanding how these adapters work (and how to install them properly) will save you time, money, and frustration.
Remember the key points:
- Know your threads: GHT for garden hoses, NPT for plumbing. They don't mix.
- Use the right clamps: PEX pinch clamps, not automotive hose clamps.
- Clean cuts matter: Square cuts = better seals.
- Rubber washers are your friend: Always check before connecting.
Got questions about your specific setup? Drop us a line through our contact page. We're happy to help you solve the plumbing puzzle.


