


How to Connect a 1/2 PEX to Garden Hose Adapter in 5 Minutes
![[HERO] How to Connect a 1/2 PEX to Garden Hose Adapter in 5 Minutes](https://cdn.marblism.com/OqSQOAfwCia.webp)
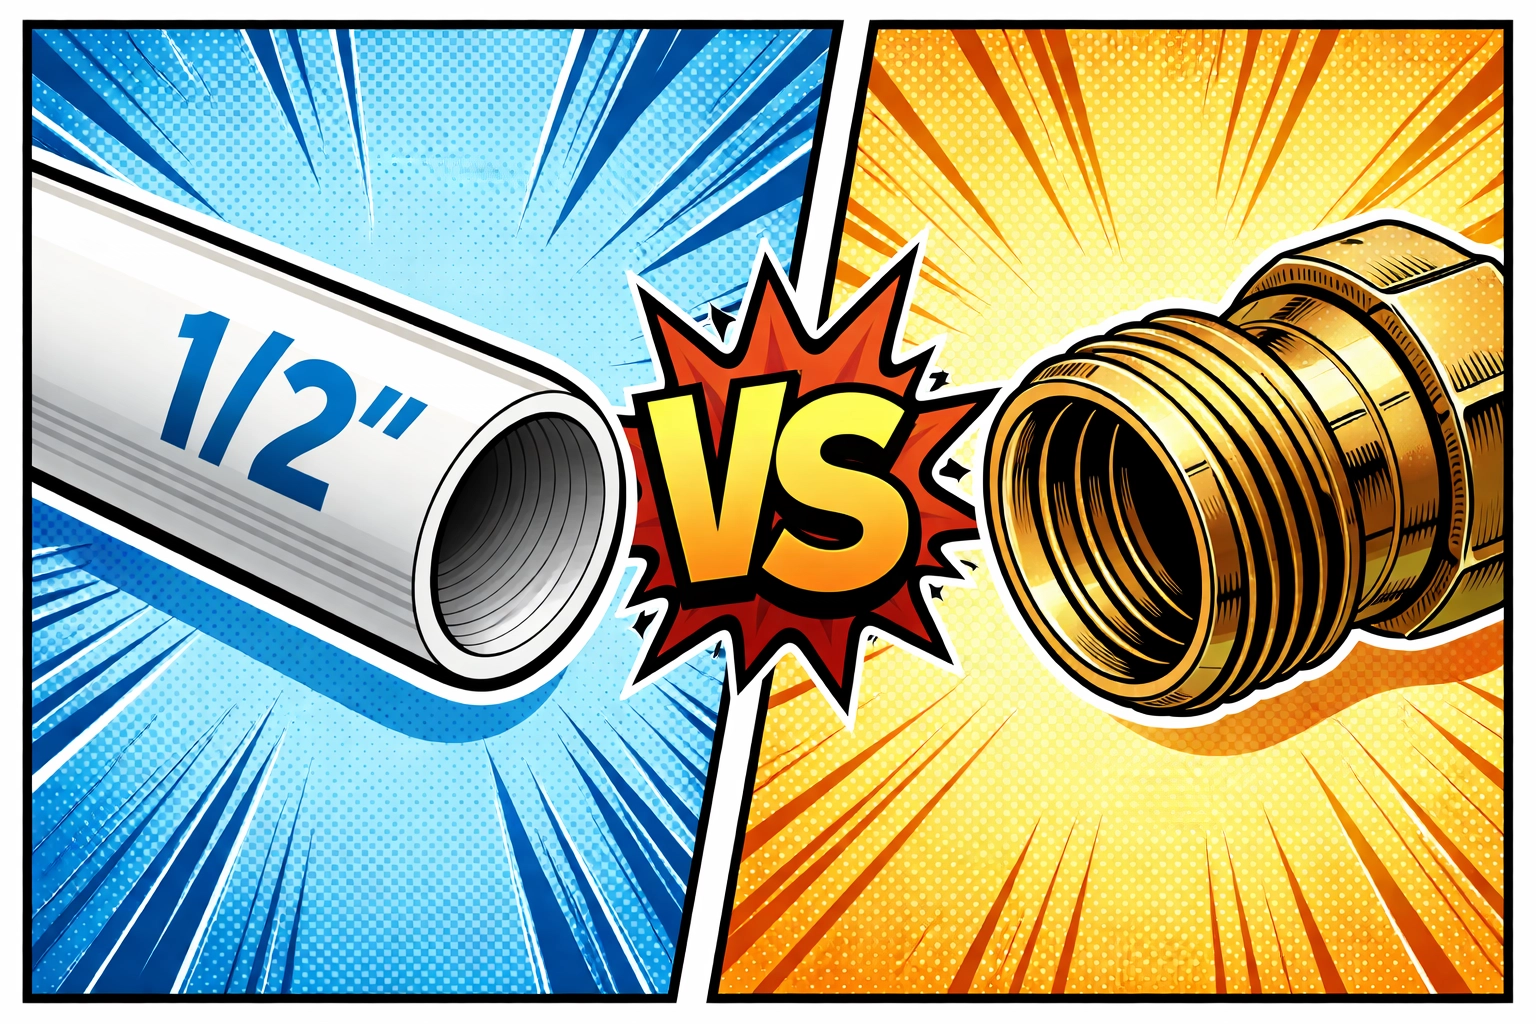
If you've ever stared at your RV's plumbing and wondered why nothing seems to fit together, you're not alone. One of the most common headaches RVers face is the mismatch between the 1/2" PEX tubing that runs through most rigs and the standard garden hose thread (GHT) connections on water filters, hoses, and campground spigots.
The good news? This is one of those problems that sounds way more complicated than it actually is. With the right adapter and about five minutes of your time, you can bridge that gap and get your water system running smoothly. No plumber required.
Let's walk through it together.
The Great Plumbing Mismatch: Why This Happens
Here's the deal with RV plumbing: manufacturers love PEX tubing. It's flexible, durable, handles freezing temps better than rigid pipe, and it's lightweight, all things that matter when you're rolling down the highway.
Most RVs use 1/2" PEX for their internal water lines. Makes sense.
But then you look at your water filtration system, your fresh water hose, or even that shiny new under-sink filter you want to install... and they all use garden hose threads (GHT). It's the standard for outdoor water connections, but it doesn't play nice with PEX out of the box.
That's where a 1/2" PEX to garden hose adapter comes in. It's the translator between two plumbing languages, and once you have one, a whole world of DIY water system upgrades opens up.
What You'll Need
Before we dive into the steps, let's make sure you've got everything on hand. The beauty of this project is that the supply list is refreshingly short:
- 1/2" PEX to Garden Hose Adapter (brass is best, skip the galvanized options)
- Teflon tape (also called plumber's tape or thread seal tape)
- A clean rag or towel
- Your hands (seriously, that's it for tools in most cases)
If you're using a push-to-connect or compression-style adapter, which we highly recommend for quick installations, you won't even need a crimping tool. These adapters are designed for hand-tightening and create a secure, leak-free seal without any special equipment.
Step-by-Step: Connecting Your PEX to Garden Hose Adapter
Alright, let's get into it. Set a timer if you want: we're betting you'll beat the five-minute mark.
Step 1: Turn Off Your Water and Relieve Pressure
Safety first. Shut off your water pump (if you're on internal water) or disconnect from the campground spigot. Then open a faucet to release any pressure still in the lines. This prevents surprise sprays and makes the connection much easier.
Give it about 30 seconds to drain, then close the faucet.
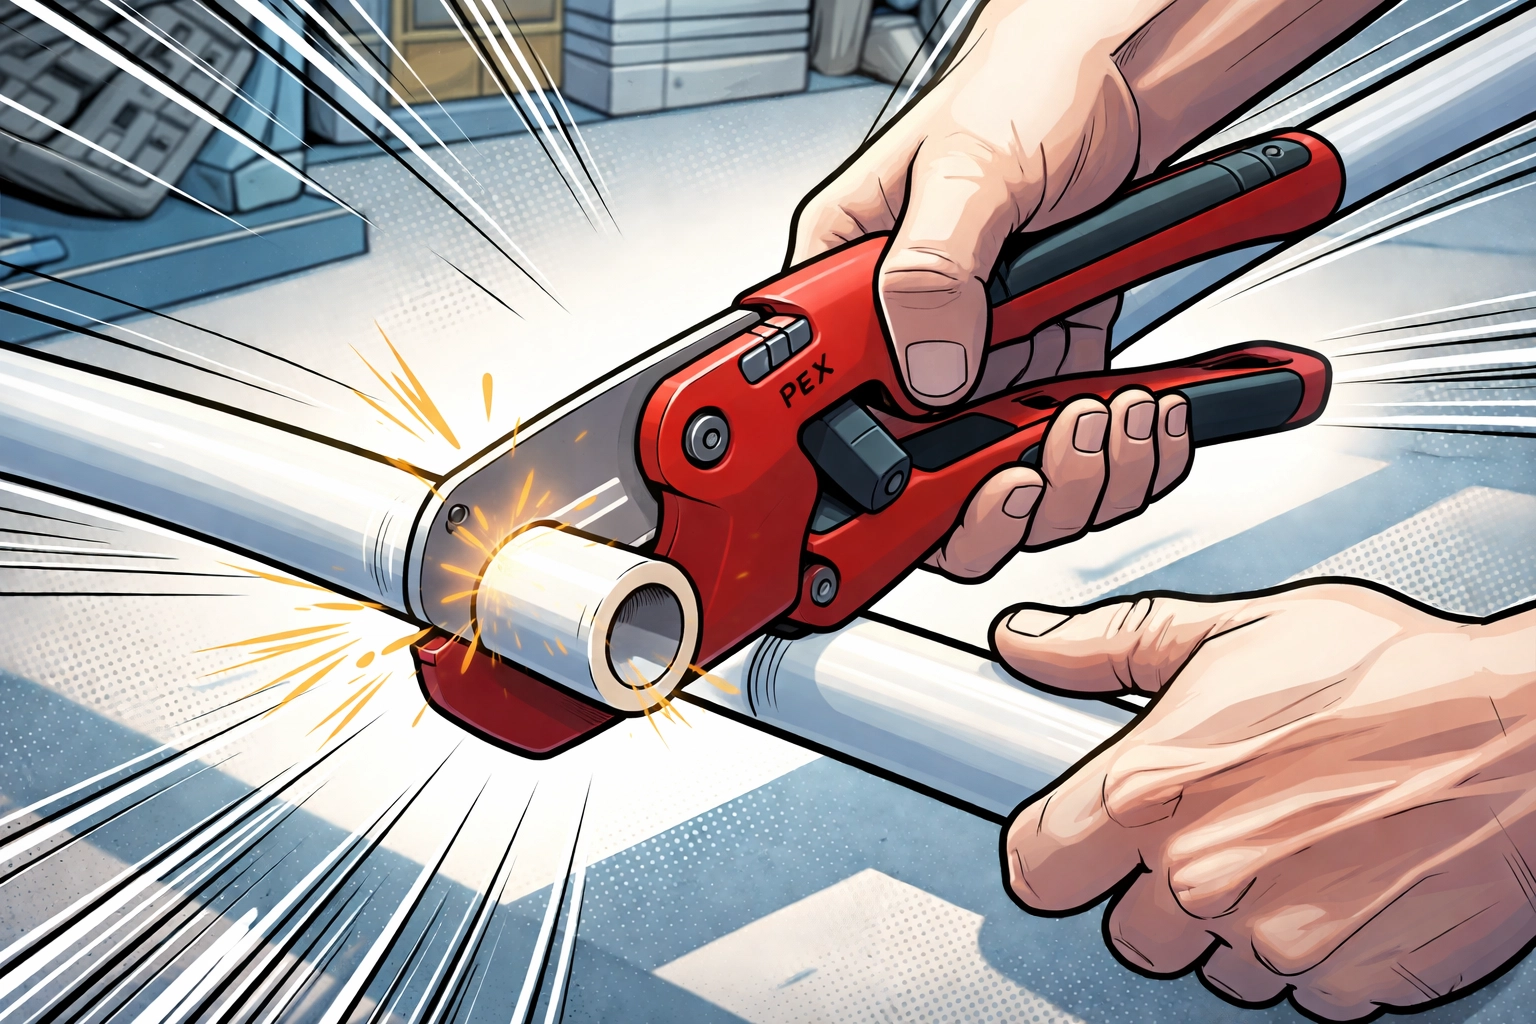
Step 2: Cut Your PEX Tubing (If Needed)
If you're tapping into an existing PEX line, you'll need a clean, straight cut. A PEX cutter works best, but sharp scissors or a utility knife can do the job in a pinch. Just make sure the cut is square: no angled or jagged edges.
A clean cut ensures the adapter seats properly and creates a watertight seal.
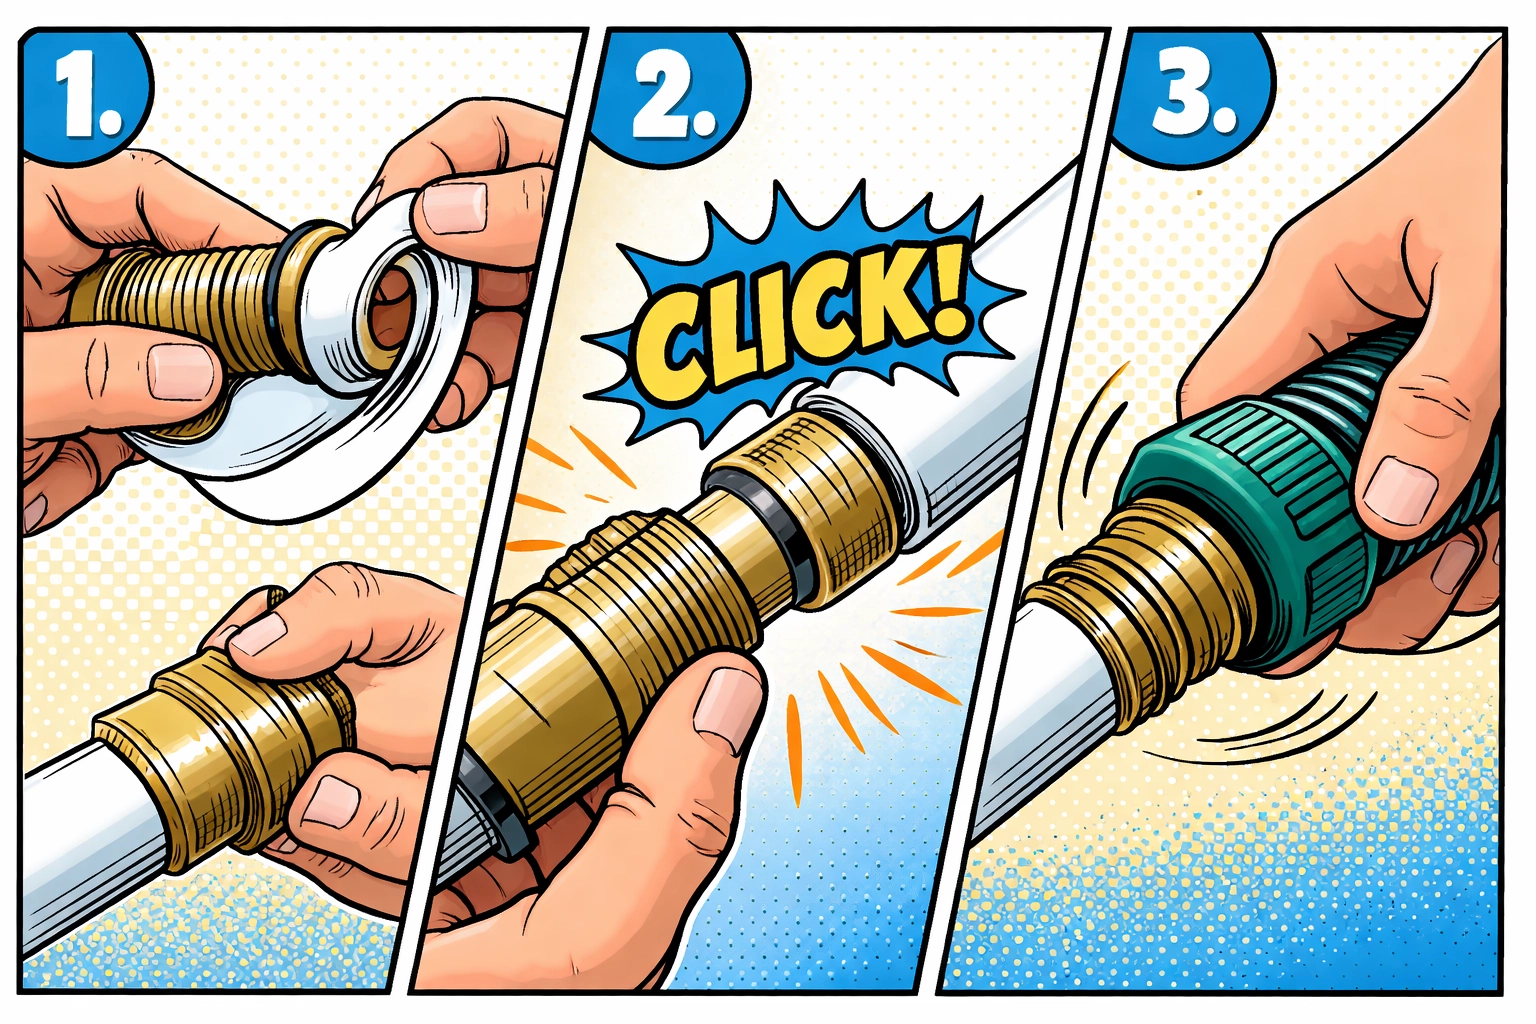
Step 3: Apply Teflon Tape to the Threaded End
Here's a pro tip that prevents 90% of adapter leaks: wrap Teflon tape around the threaded (garden hose) end of the adapter before connecting anything.
Wrap it clockwise (in the direction you'll be screwing on the fitting) about 3-4 times. This fills any tiny gaps in the threads and creates a much better seal. It takes ten seconds and saves you from chasing drips later.
Step 4: Connect the Adapter to Your PEX Line
Now for the main event. If you're using a push-to-connect adapter:
- Simply push the PEX tubing into the adapter until it stops
- Give it a gentle tug to confirm it's locked in place
That's it. No crimping, no clamps, no swearing.
If you're using a compression-style fitting, slide the compression nut and ring onto the PEX first, then insert the adapter and tighten the nut by hand until snug. A quarter-turn with pliers can help, but don't go overboard: over-tightening can actually cause leaks.
Step 5: Attach Your Filter, Hose, or Accessory
With the adapter in place, you can now screw on any standard garden hose thread fitting. This could be:
- An in-line water filter for your fresh water supply
- A connection to an under-sink filtration system
- A garden hose for external hookups
- A water pressure regulator to protect your plumbing
Hand-tighten until snug, then turn your water back on and check for leaks. If you see any drips at the threads, turn off the water and add another wrap or two of Teflon tape.
Common Use Cases for PEX to Garden Hose Adapters
So why would you need one of these adapters in the first place? Here are the scenarios we see most often:
Installing an Under-Sink Water Filter
Many RVers want cleaner drinking water at the kitchen tap without dealing with a full external filtration setup. An under-sink filter is a great solution, but connecting it to your existing PEX lines requires an adapter. This little fitting lets you tap into the cold water line and route it through your filter before it hits the faucet.
Connecting External Filtration Systems
If you're running a multi-stage filtration setup outside your rig: maybe a sediment filter paired with a carbon cartridge for taste and odor: you'll often need to transition between PEX and garden hose connections. Adapters make this seamless.
DIY Plumbing Repairs and Upgrades
Replacing a damaged section of line? Adding a new water outlet? Upgrading your hose accessories? PEX to garden hose adapters give you flexibility to mix and match components without replumbing your entire rig.
Tips for a Leak-Free Connection Every Time
A few quick pointers to keep things dry:
- Choose brass over galvanized. Galvanized fittings can develop calcium buildup inside that clogs pipes within 3-5 years. Brass holds up much better over time.
- Don't skip the Teflon tape. It takes seconds and makes a huge difference.
- Hand-tight is usually right. Over-tightening can crack fittings or deform seals. Snug plus a quarter-turn is the sweet spot.
- Check connections after your first trip. Vibration from the road can loosen fittings. A quick inspection at your first stop can catch small leaks before they become big problems.
Wrapping Up: Small Adapter, Big Impact
There's something deeply satisfying about solving a plumbing puzzle with a $5 part and five minutes of your time. A 1/2" PEX to garden hose adapter might not be the flashiest upgrade you'll make to your RV, but it's one of the most useful.
Whether you're installing a new water filtration system, setting up an external filter rig, or just making repairs on the road, having a few of these adapters in your toolkit means you're ready for whatever your water system throws at you.
Got questions about which adapter fits your setup? We're always happy to help point you in the right direction. Happy travels, and here's to clean water wherever the road takes you.


